How to deploy your own Smart Contract
NOTE: For this tutorial you will require Curl. You can either download directly from https://curl.se/download.html or you can download git for windows which includes Curl, install and restart pc before starting this guide. https://gitforwindows.org/
Much like many of us, the thought of deploying your own Smart Contract can sound scary but in actual fact it is a very simple process. In this guide we will be teaching you how to deploy the Token Smart Contract in the Stargate Testnet enviroment. This guide will be updated once Mainnet is launched.
Setting up a Testnet Environment
We are going to do this step by step on the assumption you do not have anything downloaded and that you are using Windows.
Step 1. Right click on your desktop (or location of choice) and create a new folder and call it Stargate Testnet
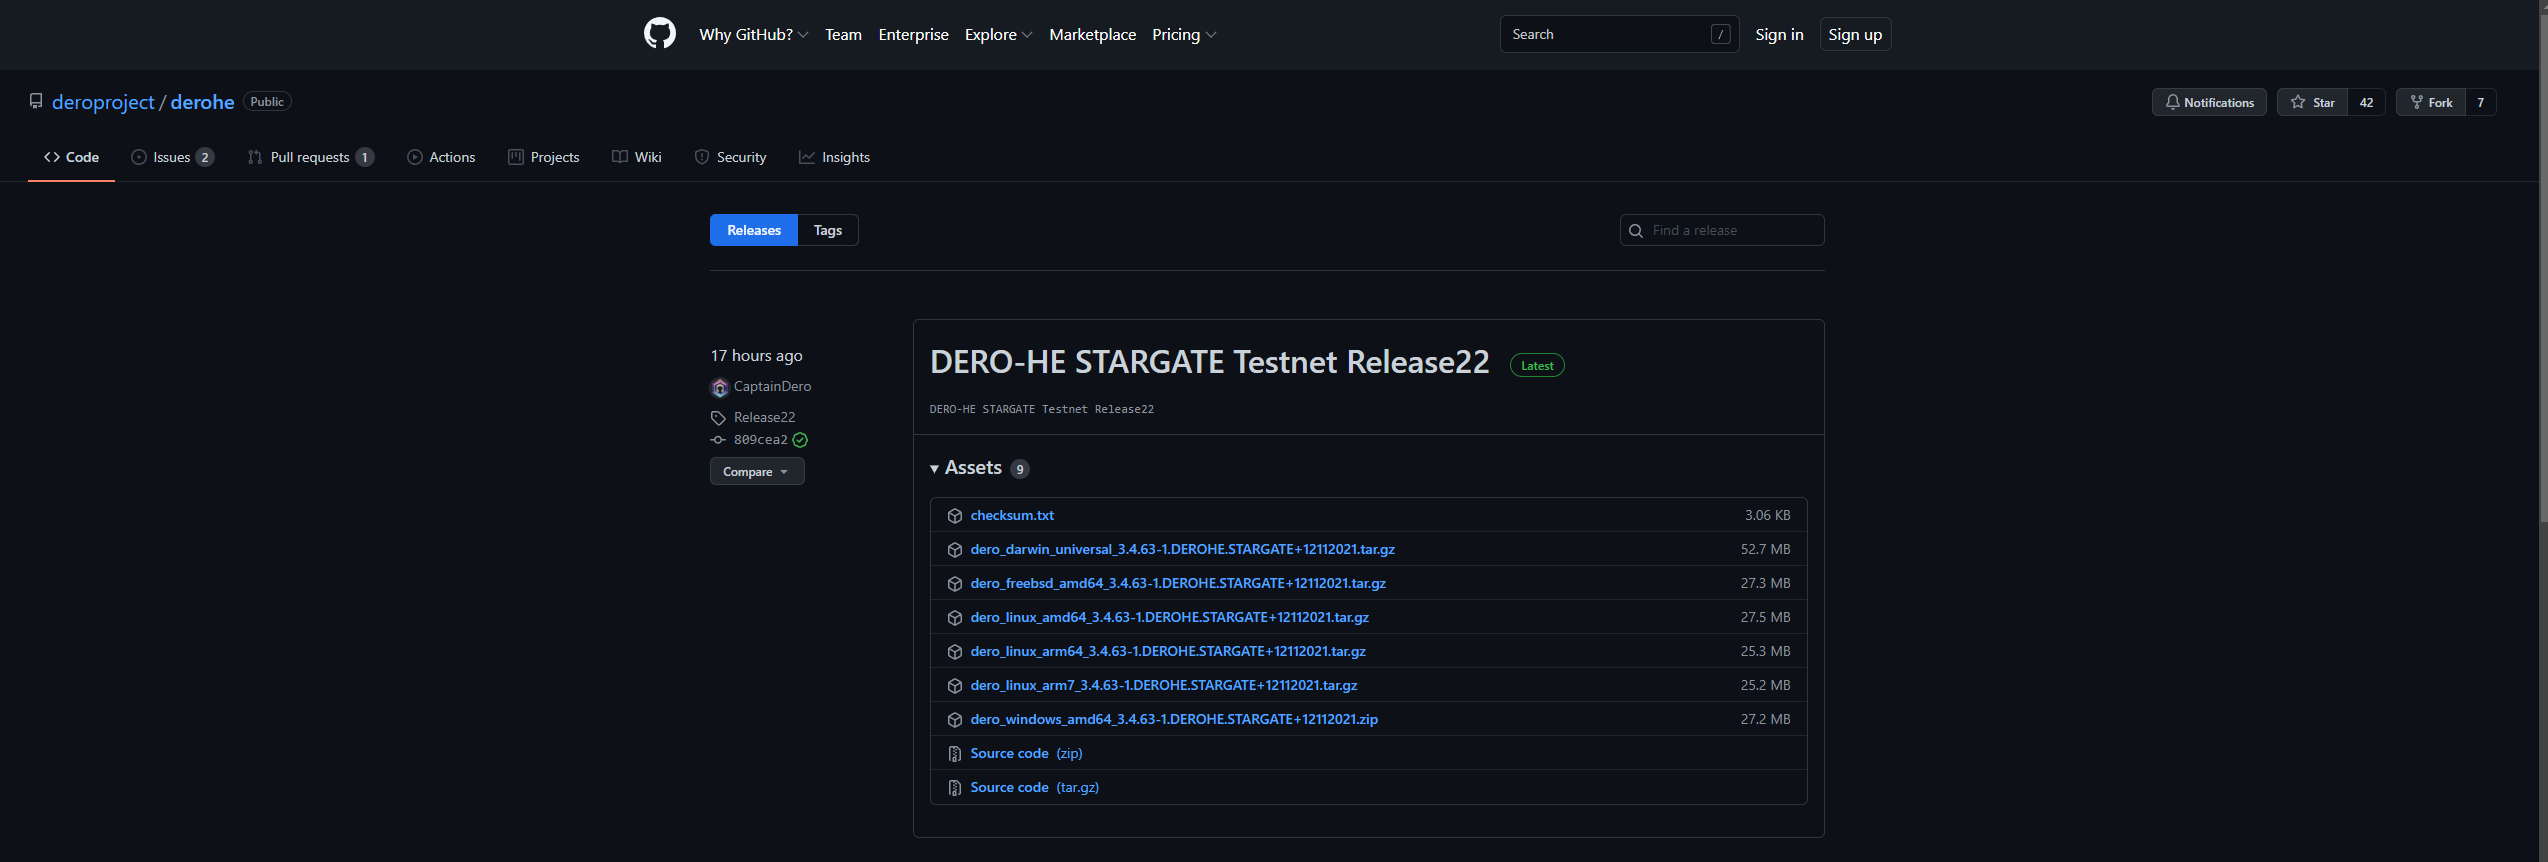
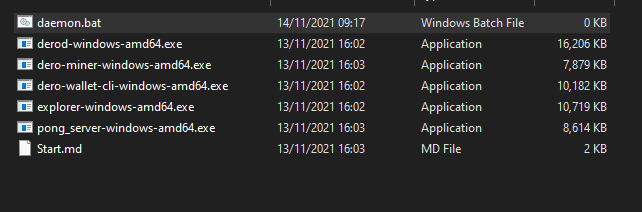
Step 2. Download latest dero_windows_amd64 zip file from here - https://github.com/deroproject/derohe/releases the latest release at the time of this guide is Release22 but please ensure you have the latest version.
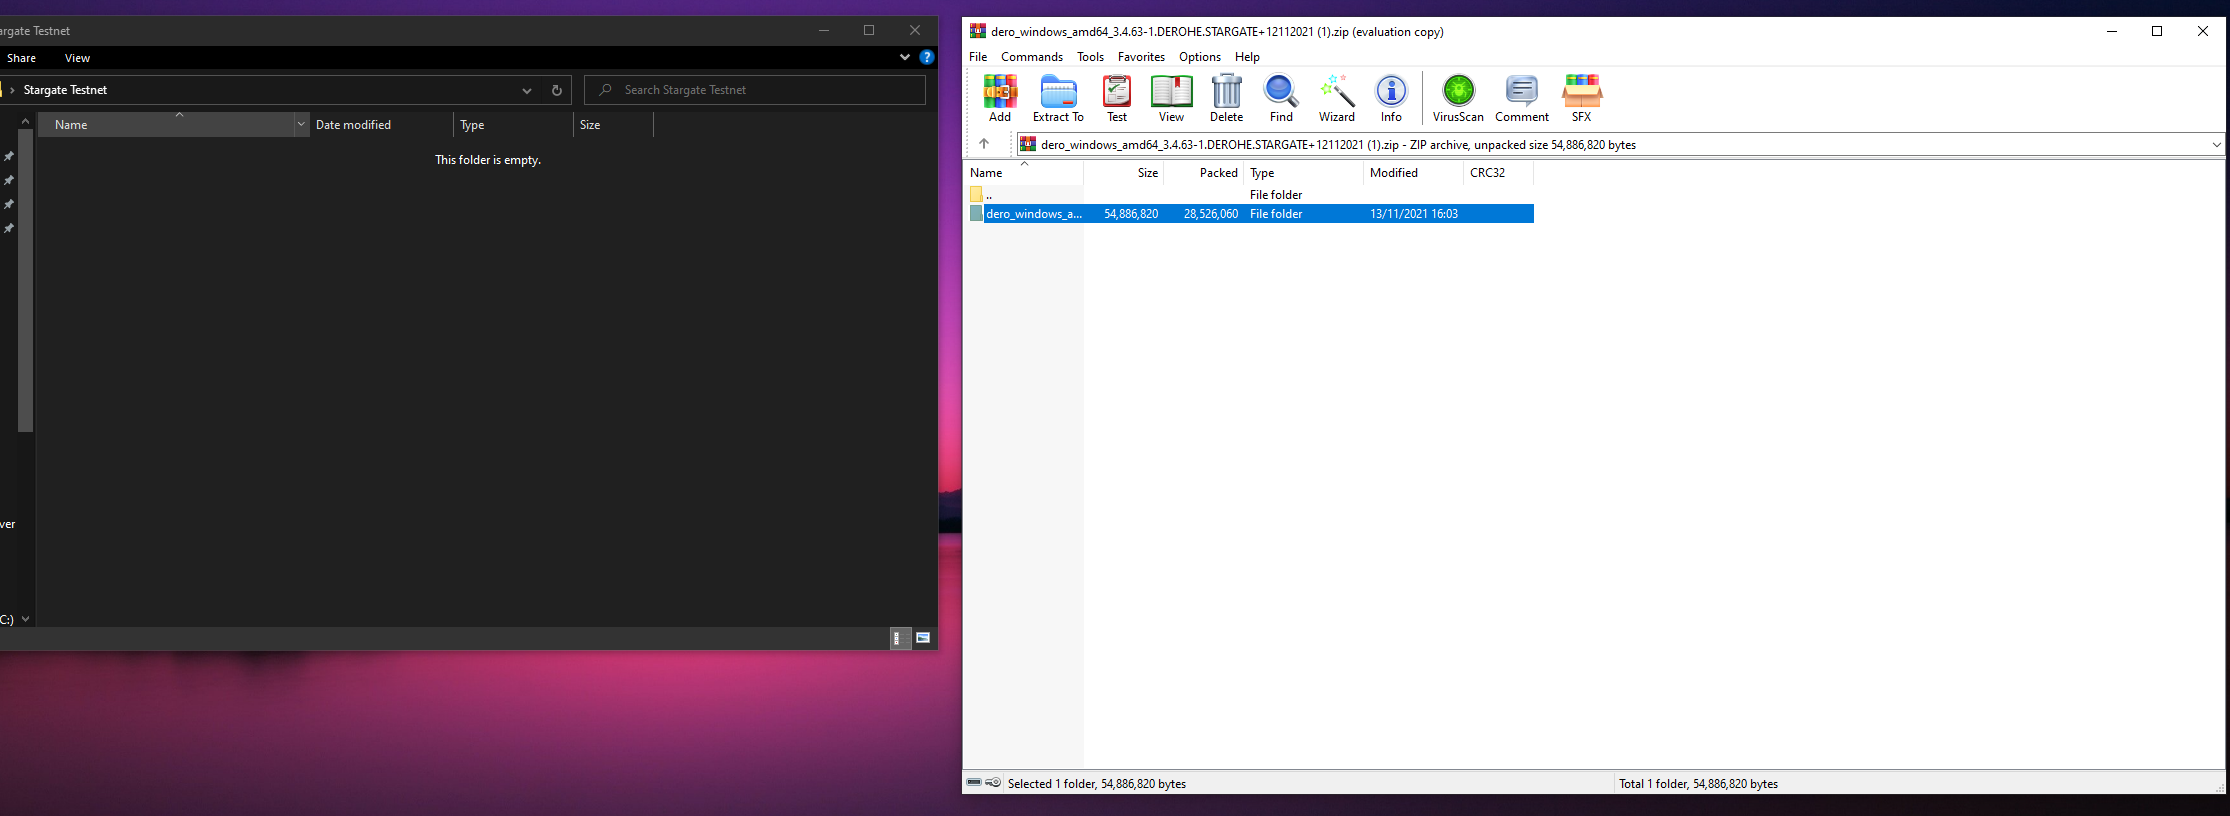
Step 3. Using WinRar or similar extract the downloaded files to your Stargate Testnet folder
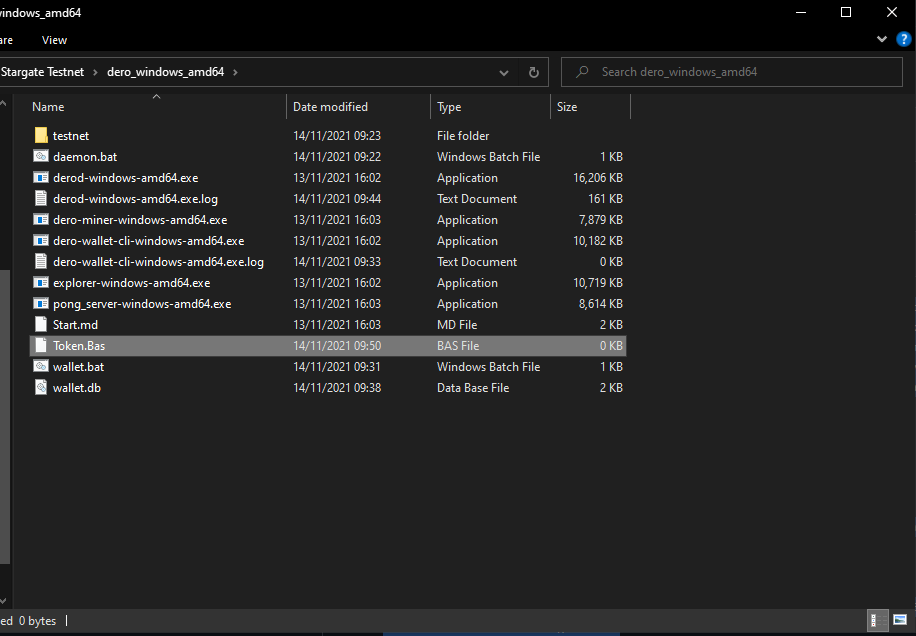
Step 4. Double click into the dero_windows_amd64 folder
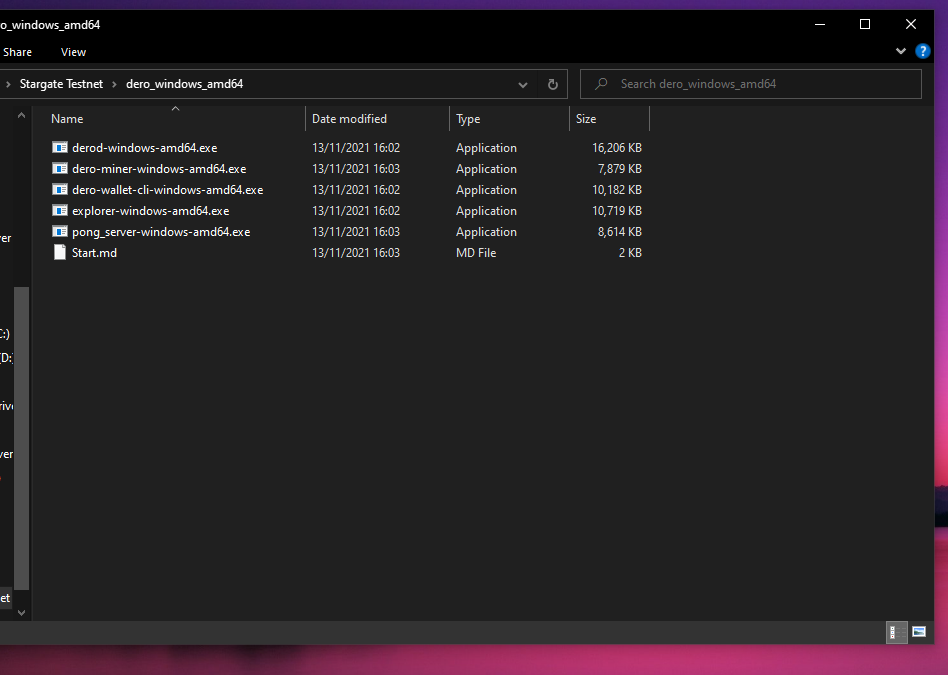
Step 5. What we will do now is create some bat files to make launching the DERO Daemon & DERO Wallet easier. First you will need to make sure file extensions are enabled. To do this click view in the folder and tick the "File Name Extensions" Box.
Step 6. Right click in your dero_windows_amd64 folder and create a text file called daemon.bat and remove.txt from the end of the file name
Step 7. Open the daemon.bat file with notepad or your text editor of choice and input the following and then click save and exit the file.
derod-windows-amd64.exe --debug --fastsync
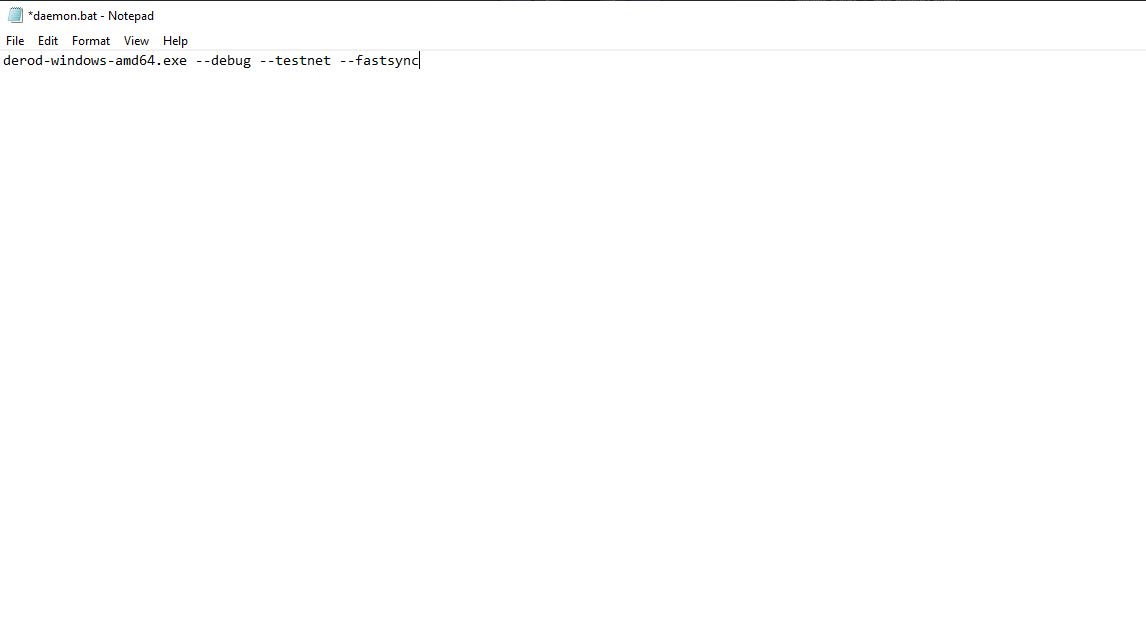
Step 8. Double click the daemon.bat to run the daemon and this will now sync using the new bootstrap feature for fast syncing.
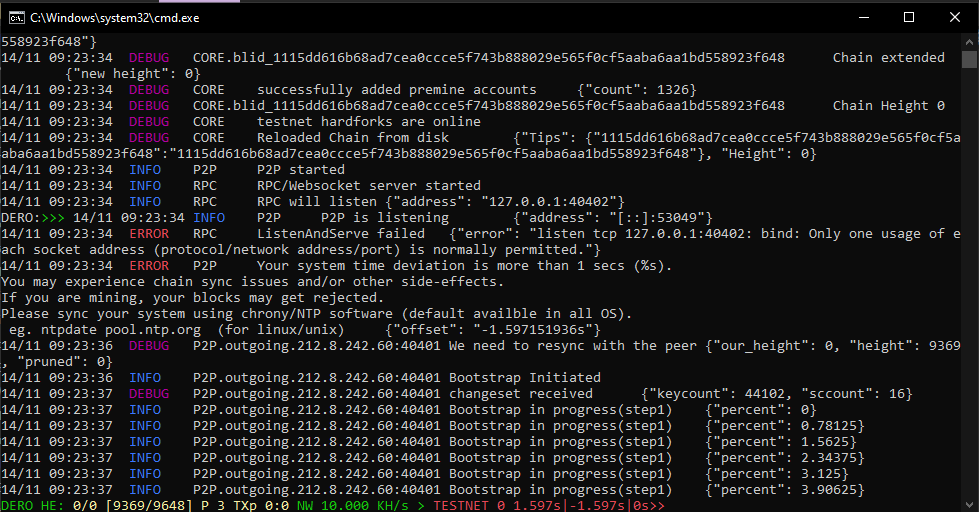
You will now see the daemon is in sync with latest block.

NOTE: The DERO Daemon will need to be open at all times whilst using the wallet and deplying Smart Contracts.
Step 9. Now the daemon is up and running we will need to get the wallet up and running. To do this right click again in your dero_windows_amd64 folder and create a new text file like we did before for the daemon and name this wallet.bat and remove .txt from the end of the file name.
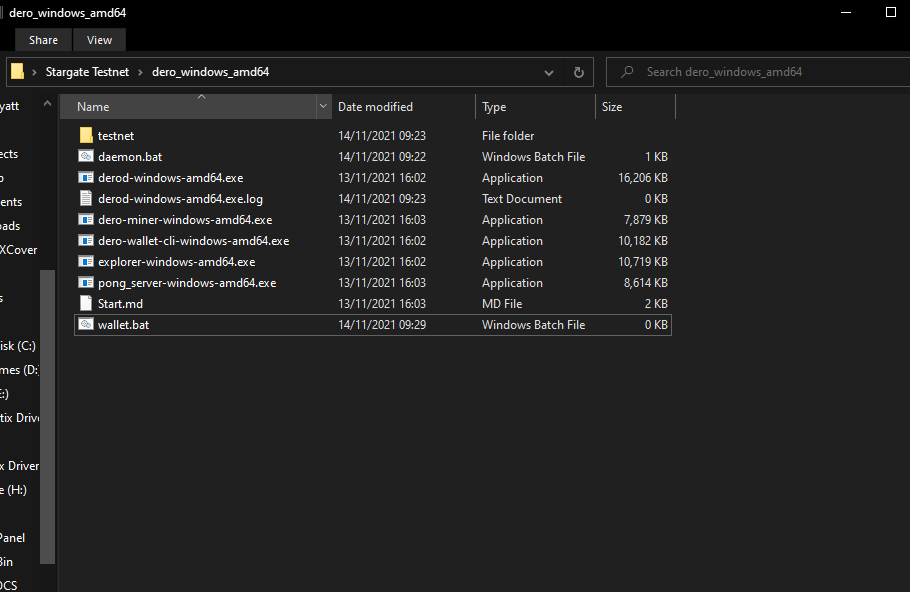
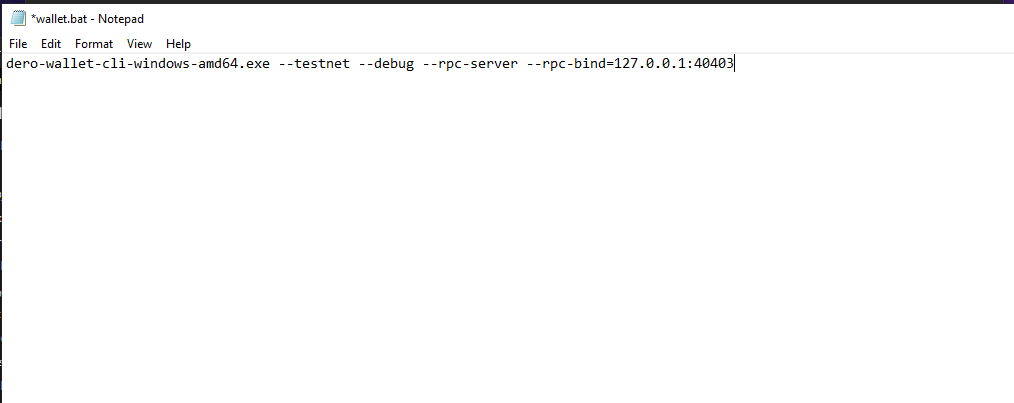
Step 10. Open the wallet.bat file with notepad or your text editor of choice and input the following and then click save and exit the file.
dero-wallet-cli-windows-amd64.exe --testnet --debug --rpc-server --rpc-bind=127.0.0.1:10103
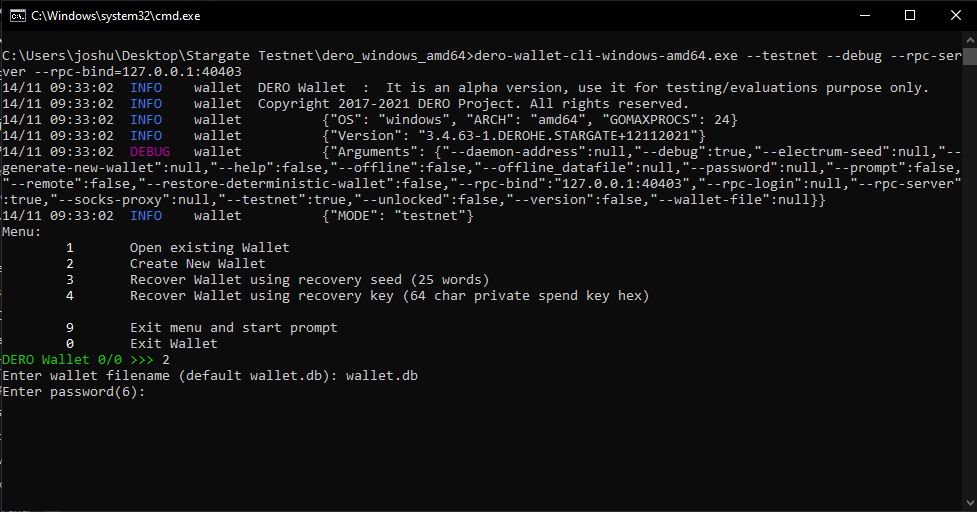
Step 11. Double click on the wallet.bat file you have just created and you will be presented with this.
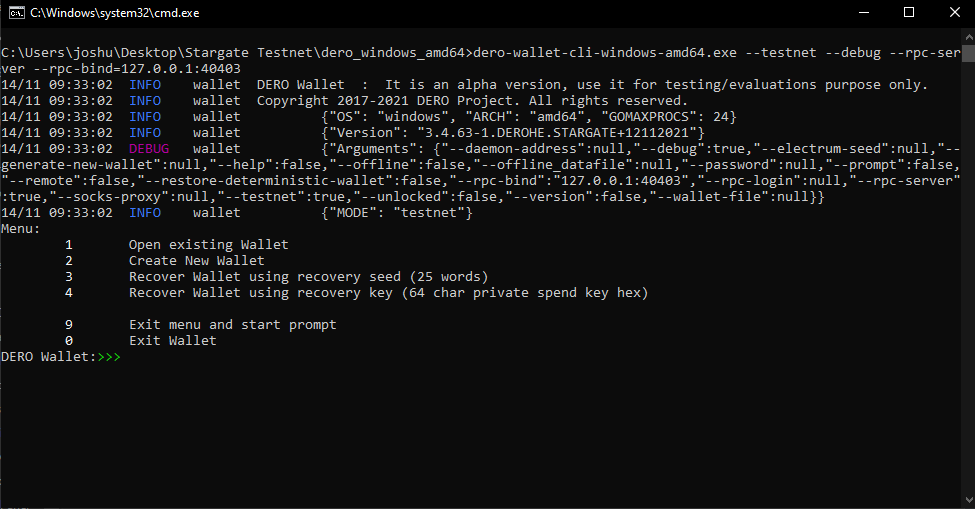
Step 12. Select option 2 - Create new wallet by typing 2 and press enter
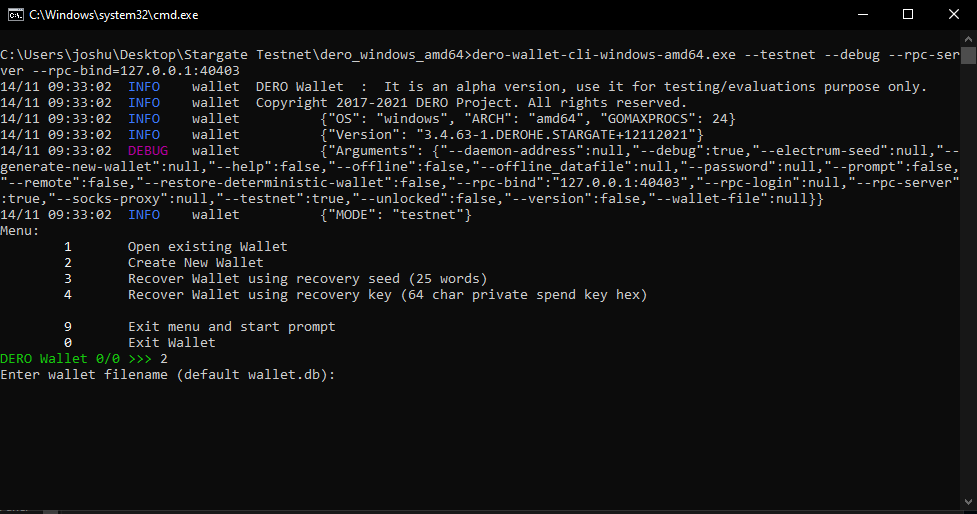
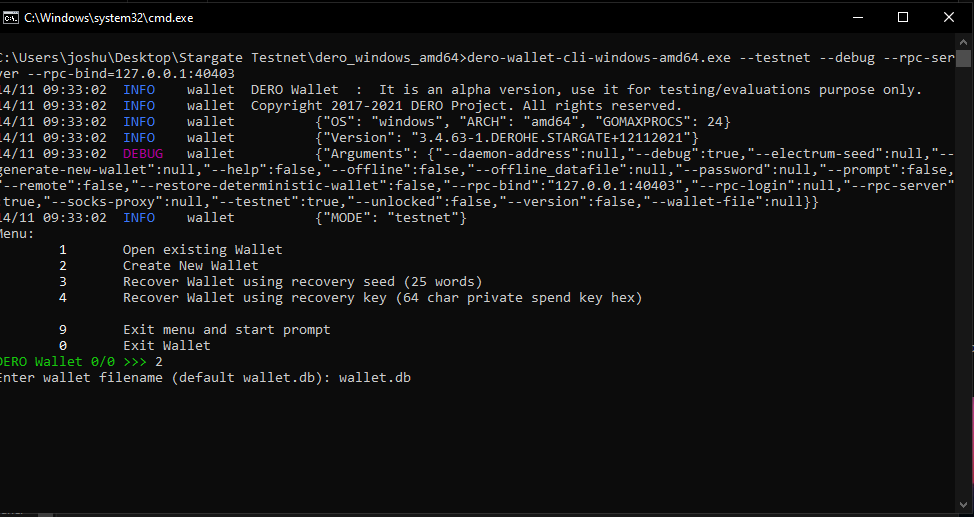
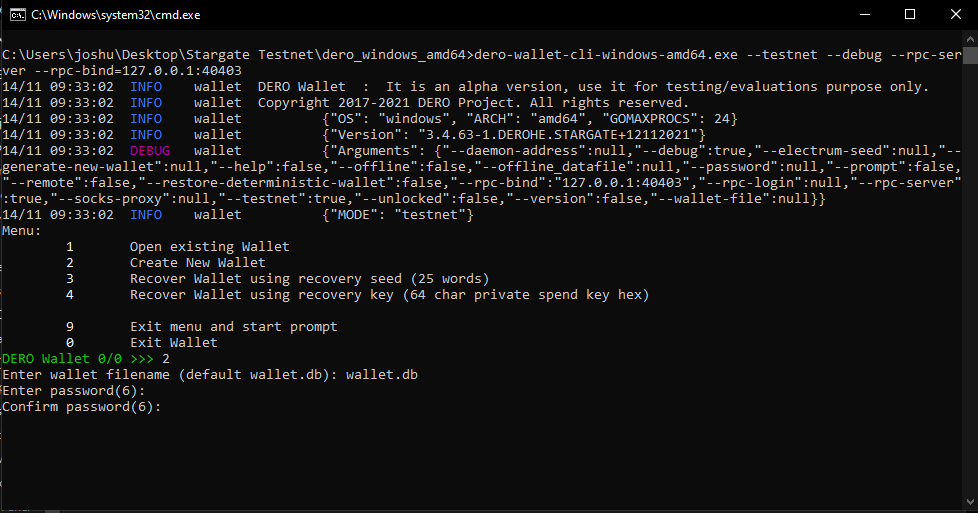
Step 13. You will now be asked to create a wallet name. All you need to do is type the wallet name and press enter. For this guide we will call it wallet.db
Step 14. You will then be asked to enter a wallet password. Please save this password somewhere safe where you will remeber it. Press enter to confirm.
Step 15. You will then be asked to confirm your password. Press enter to confirm.
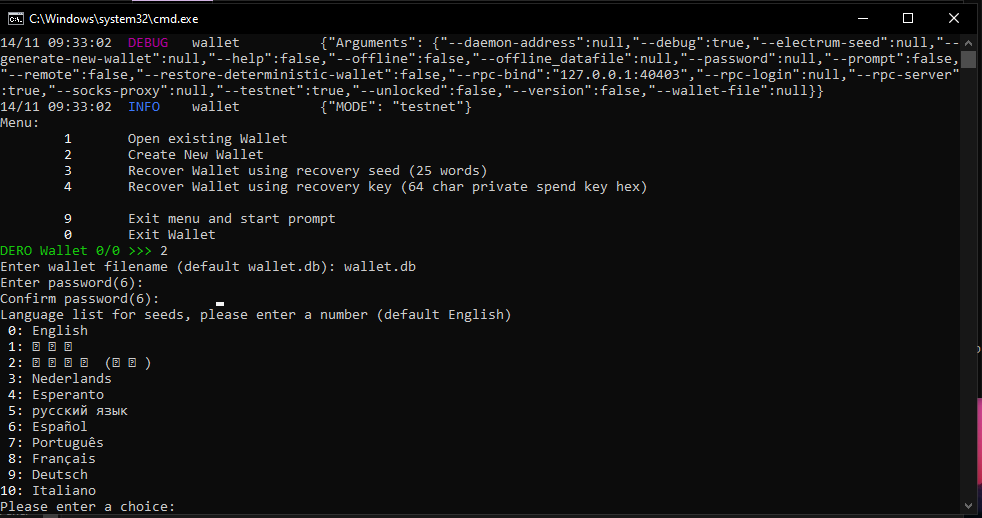
Step 16. You will now be asked to select the language. For this guide we will use English which is option 0. Type 0 and press enter.
Step 17. Congratulations you have now created your wallet.

Step 18. We now need to save the seed of the wallet we have just created somewhere safe. To get your seed press option 2 and enter and this will prompt you to enter your password. Take note of this seed and save it somewhere safe. Once this is done press enter to continue
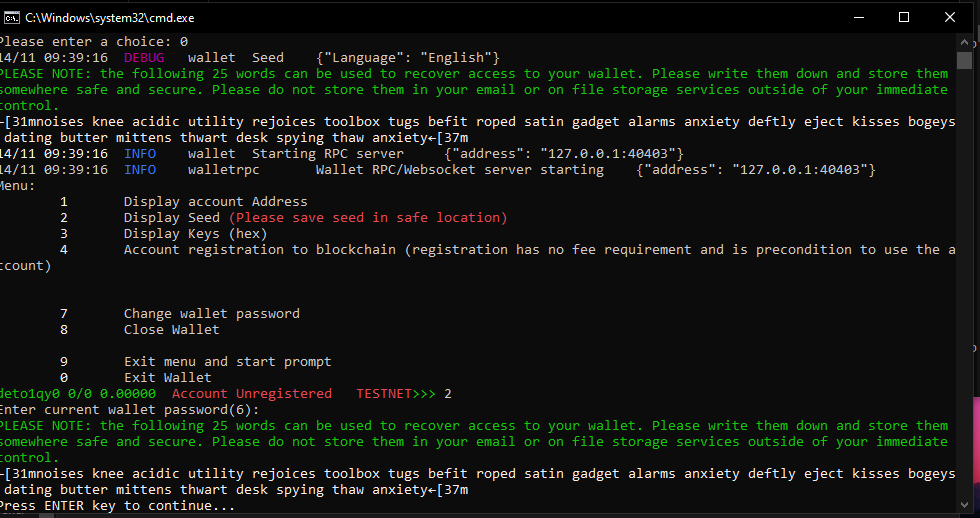
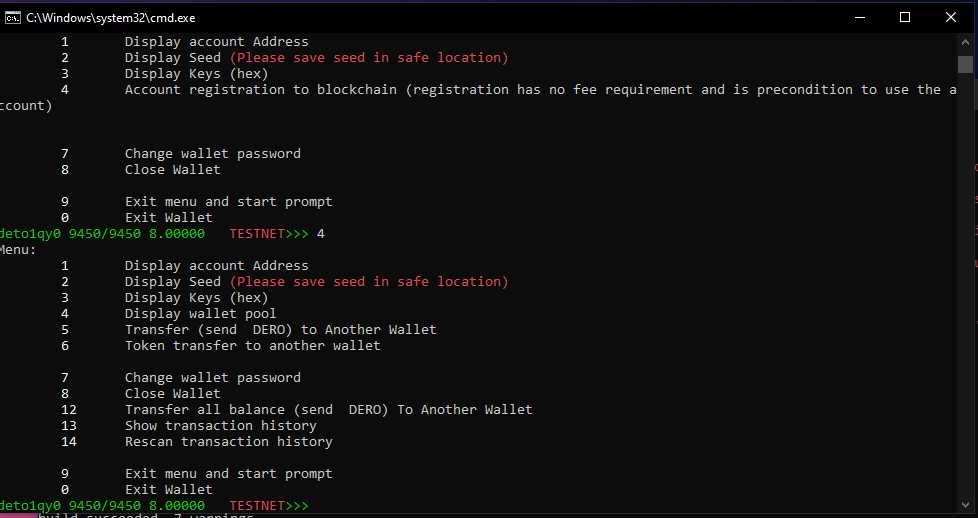
Step 19. We now need to register your new wallet to the blockchain. We do this by selection option 4. Type 4 and press enter.

We need to wait a few minutes for the account to be registered. We can check this by pressing option 4 again and you will now see you have more options in your menu.
Congratulations we now have everything set up with the daemon and wallet ready for you to deploy your first Smart Contract
Token Smart Contract
Many of us would love to have our own tokens on the blockchain right? Now you can and it is extremely easy to do!
First we need to create the Token Smart Contract. We can do this by following these steps.
Step 1. In your dero_windows_amd64 folder right click and create a text file call token.bas and remove the .txt from the end of the file name
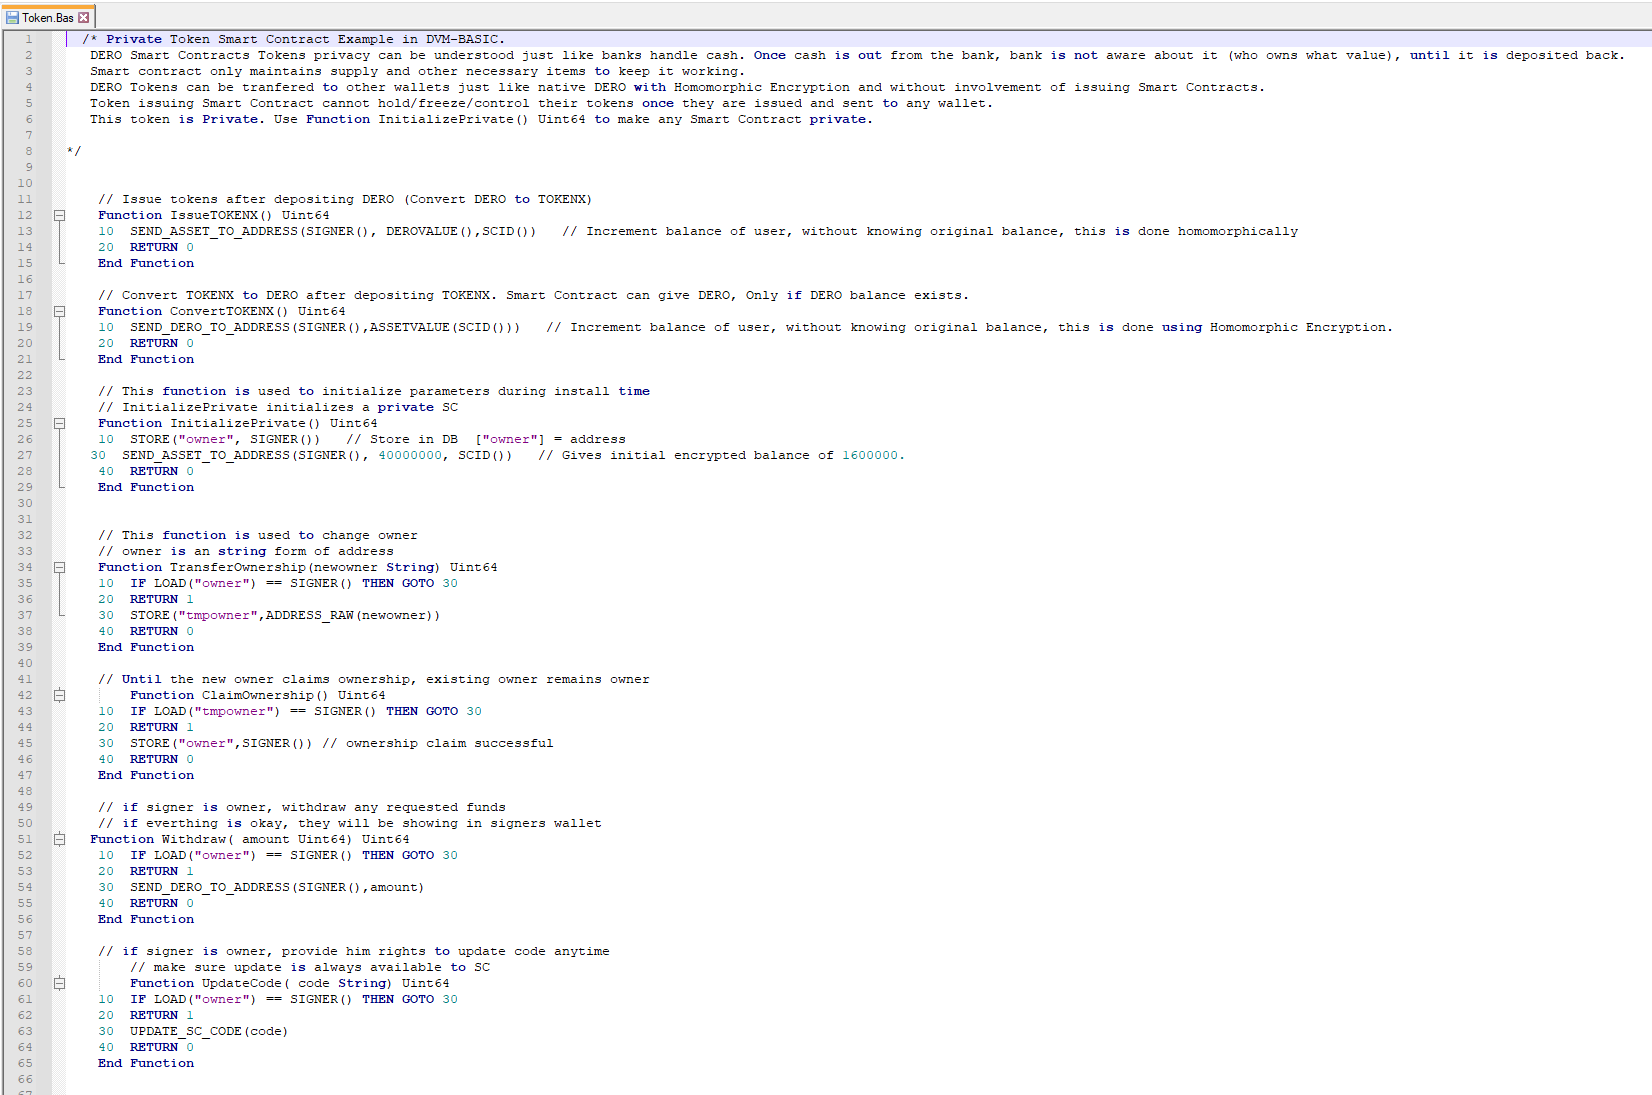
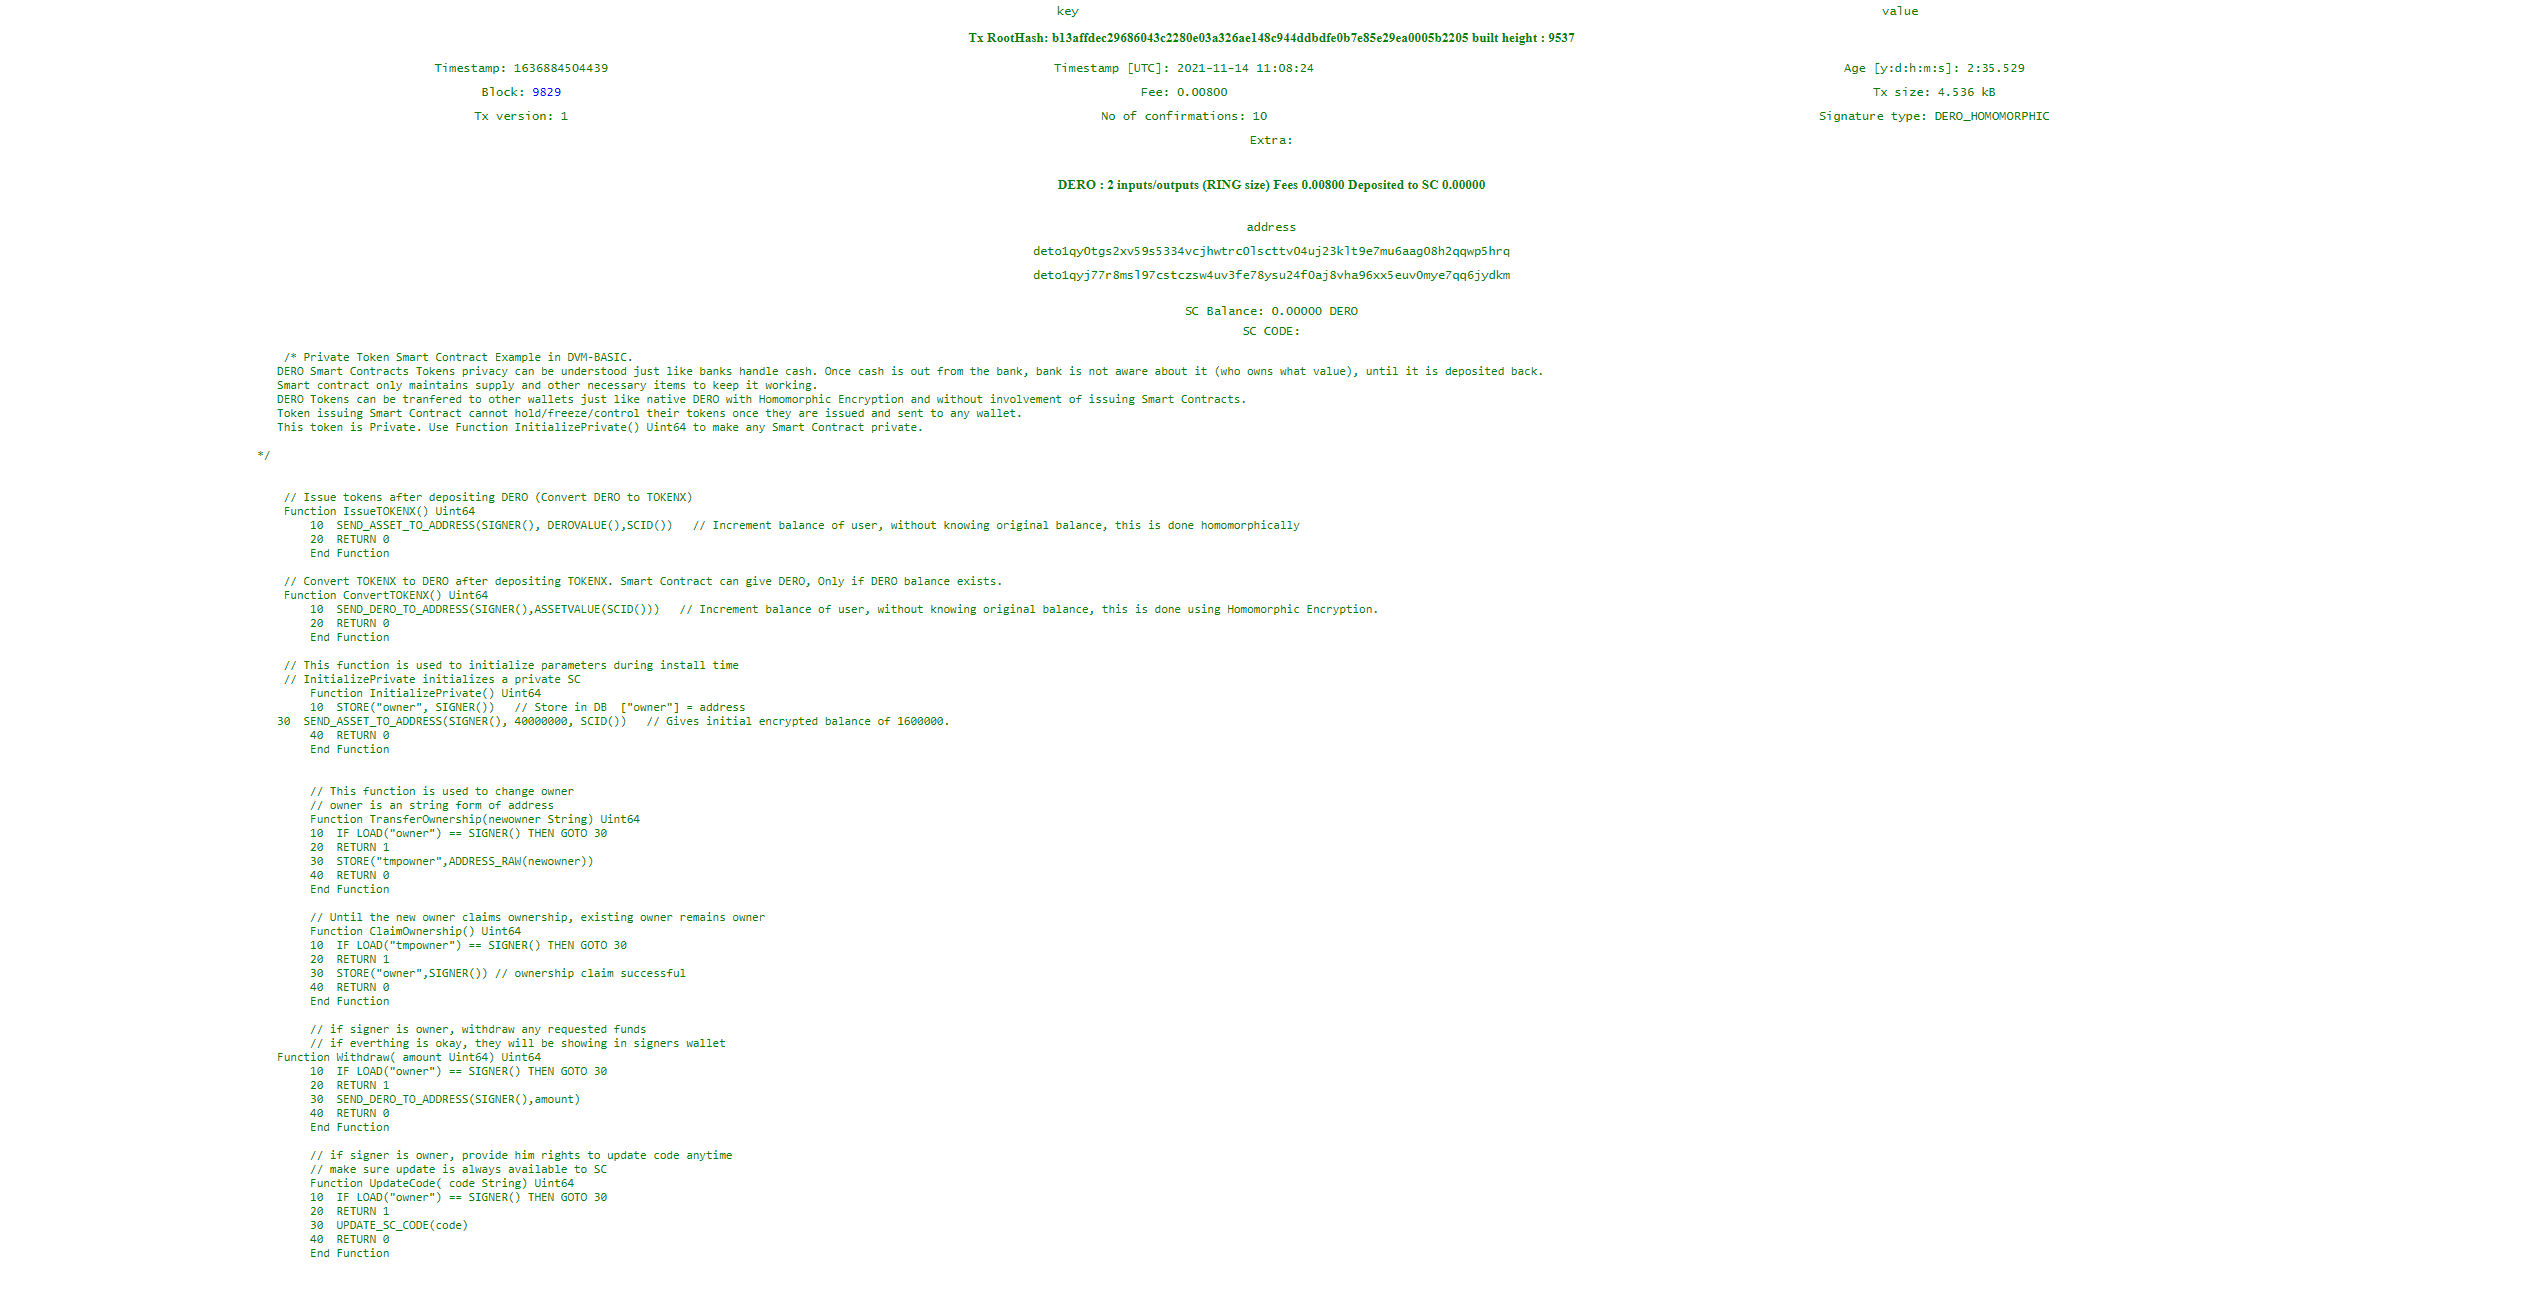
Step 2. Open the token.bas file with your text editor of choice and copy the following code. For this example we are going to create 400 tokens.
// Issue tokens after depositing DERO (Convert DERO to TOKENX)
Function IssueTOKENX() Uint64
10  SEND_ASSET_TO_ADDRESS(SIGNER(), DEROVALUE(),SCID())   // Increment balance of user, without knowing original balance, this is done homomorphically
20  RETURN 0
End Function

// Convert TOKENX to DERO after depositing TOKENX. Smart Contract can give DERO, Only if DERO balance exists.
Function ConvertTOKENX() Uint64
10  SEND_DERO_TO_ADDRESS(SIGNER(),ASSETVALUE(SCID()))   // Increment balance of user, without knowing original balance, this is done using Homomorphic Encryption.
20  RETURN 0
End Function

// This function is used to initialize parameters during install time
// InitializePrivate initializes a private SC
Function InitializePrivate() Uint64
10  STORE("owner", SIGNER())   // Store in DB  ["owner"] = address
30 SEND_ASSET_TO_ADDRESS(SIGNER(), 40000000, SCID()) // Gives initial encrypted balance of 1600000. 40 RETURN 0 End Function
// This function is used to change owner
// owner is an string form of address
Function TransferOwnership(newowner String) Uint64
10  IF LOAD("owner") == SIGNER() THEN GOTO 30
20  RETURN 1
30  STORE("tmpowner",ADDRESS_RAW(newowner))
40  RETURN 0
End Function

// Until the new owner claims ownership, existing owner remains owner
    Function ClaimOwnership() Uint64
10  IF LOAD("tmpowner") == SIGNER() THEN GOTO 30
20  RETURN 1
30  STORE("owner",SIGNER()) // ownership claim successful
40  RETURN 0
End Function

// if signer is owner, withdraw any requested funds
// if everthing is okay, they will be showing in signers wallet
Function Withdraw( amount Uint64) Uint64 10 IF LOAD("owner") == SIGNER() THEN GOTO 30 20 RETURN 1 30 SEND_DERO_TO_ADDRESS(SIGNER(),amount) 40 RETURN 0 End Function
// if signer is owner, provide him rights to update code anytime
    // make sure update is always available to SC
    Function UpdateCode( code String) Uint64
10  IF LOAD("owner") == SIGNER() THEN GOTO 30
20  RETURN 1
30  UPDATE_SC_CODE(code)
40  RETURN 0
End Function
Congratulations you now have created your token Smart Contract!
Deploying your Smart Contract
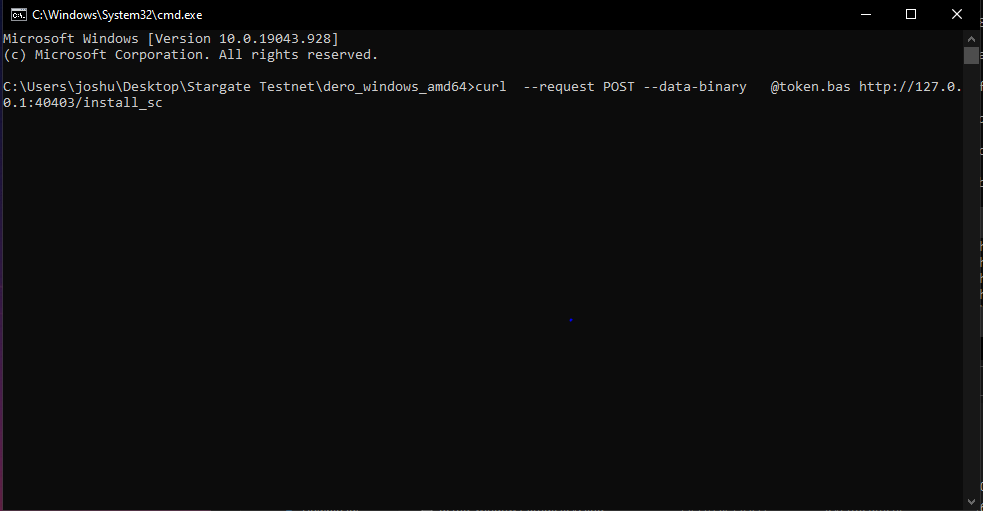
Step 1. Type cmd in the address box and press enter in your Stargate Testnet\dero_windows_amd64 folder . This will open up command prompt for this folder.
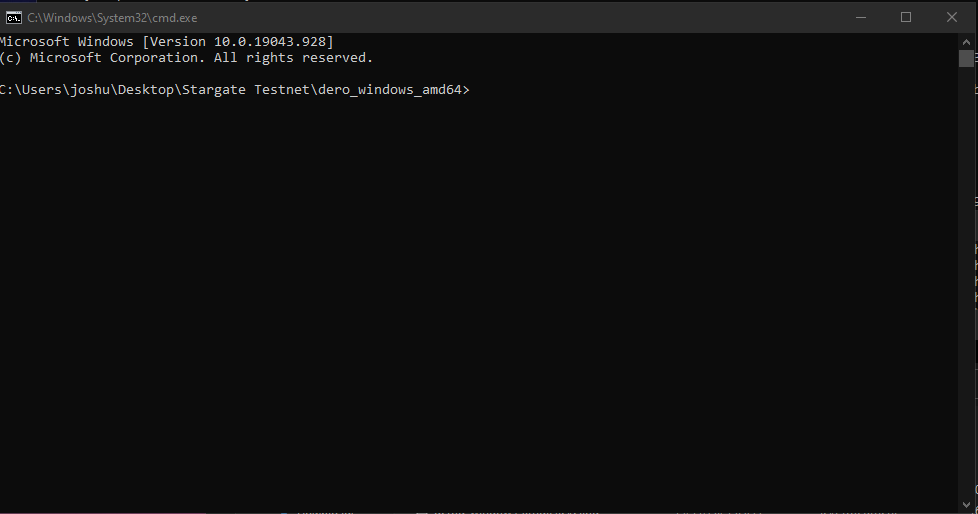
NOTE: For these next steps please ensure you DERO daemon and DERO Wallet are open.
Step 2. Type the following into the command prompt window and press enter
curl --request POST --data-binary @token.bas http://127.0.0.1:10103/install_sc
Step 3. You Smart Contract will now be sent to the blockchain and you will be give a Smart Contract ID, You will see this name SCID in some places. Save this Smart Contract ID as you will need this going forward.

Step 4. We will now check that the Smart Contract has gone live by going to https://testnetexplorer.dero.io/
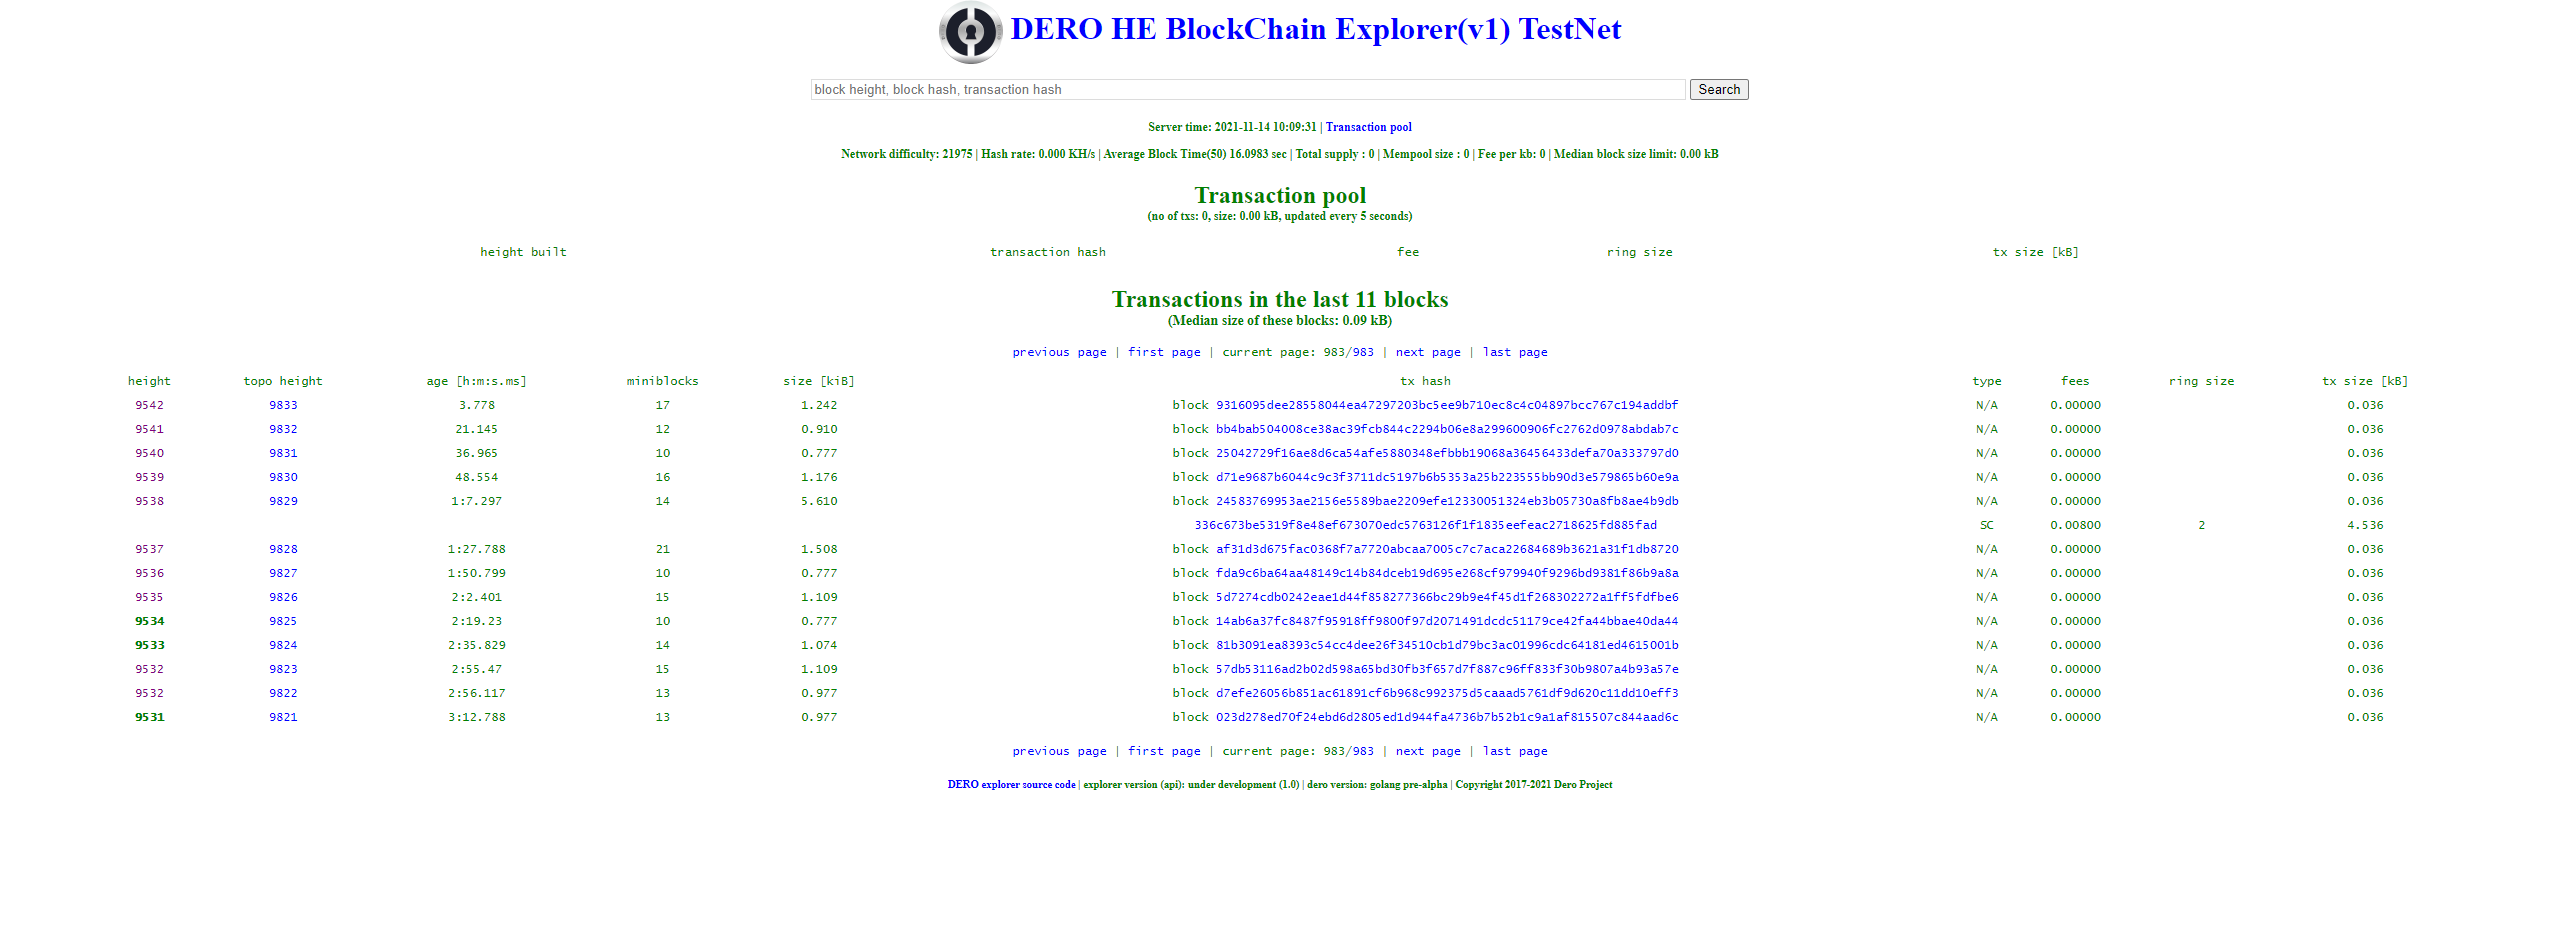
Step 5. We will now enter the Smart Contract ID into the search box and press search.
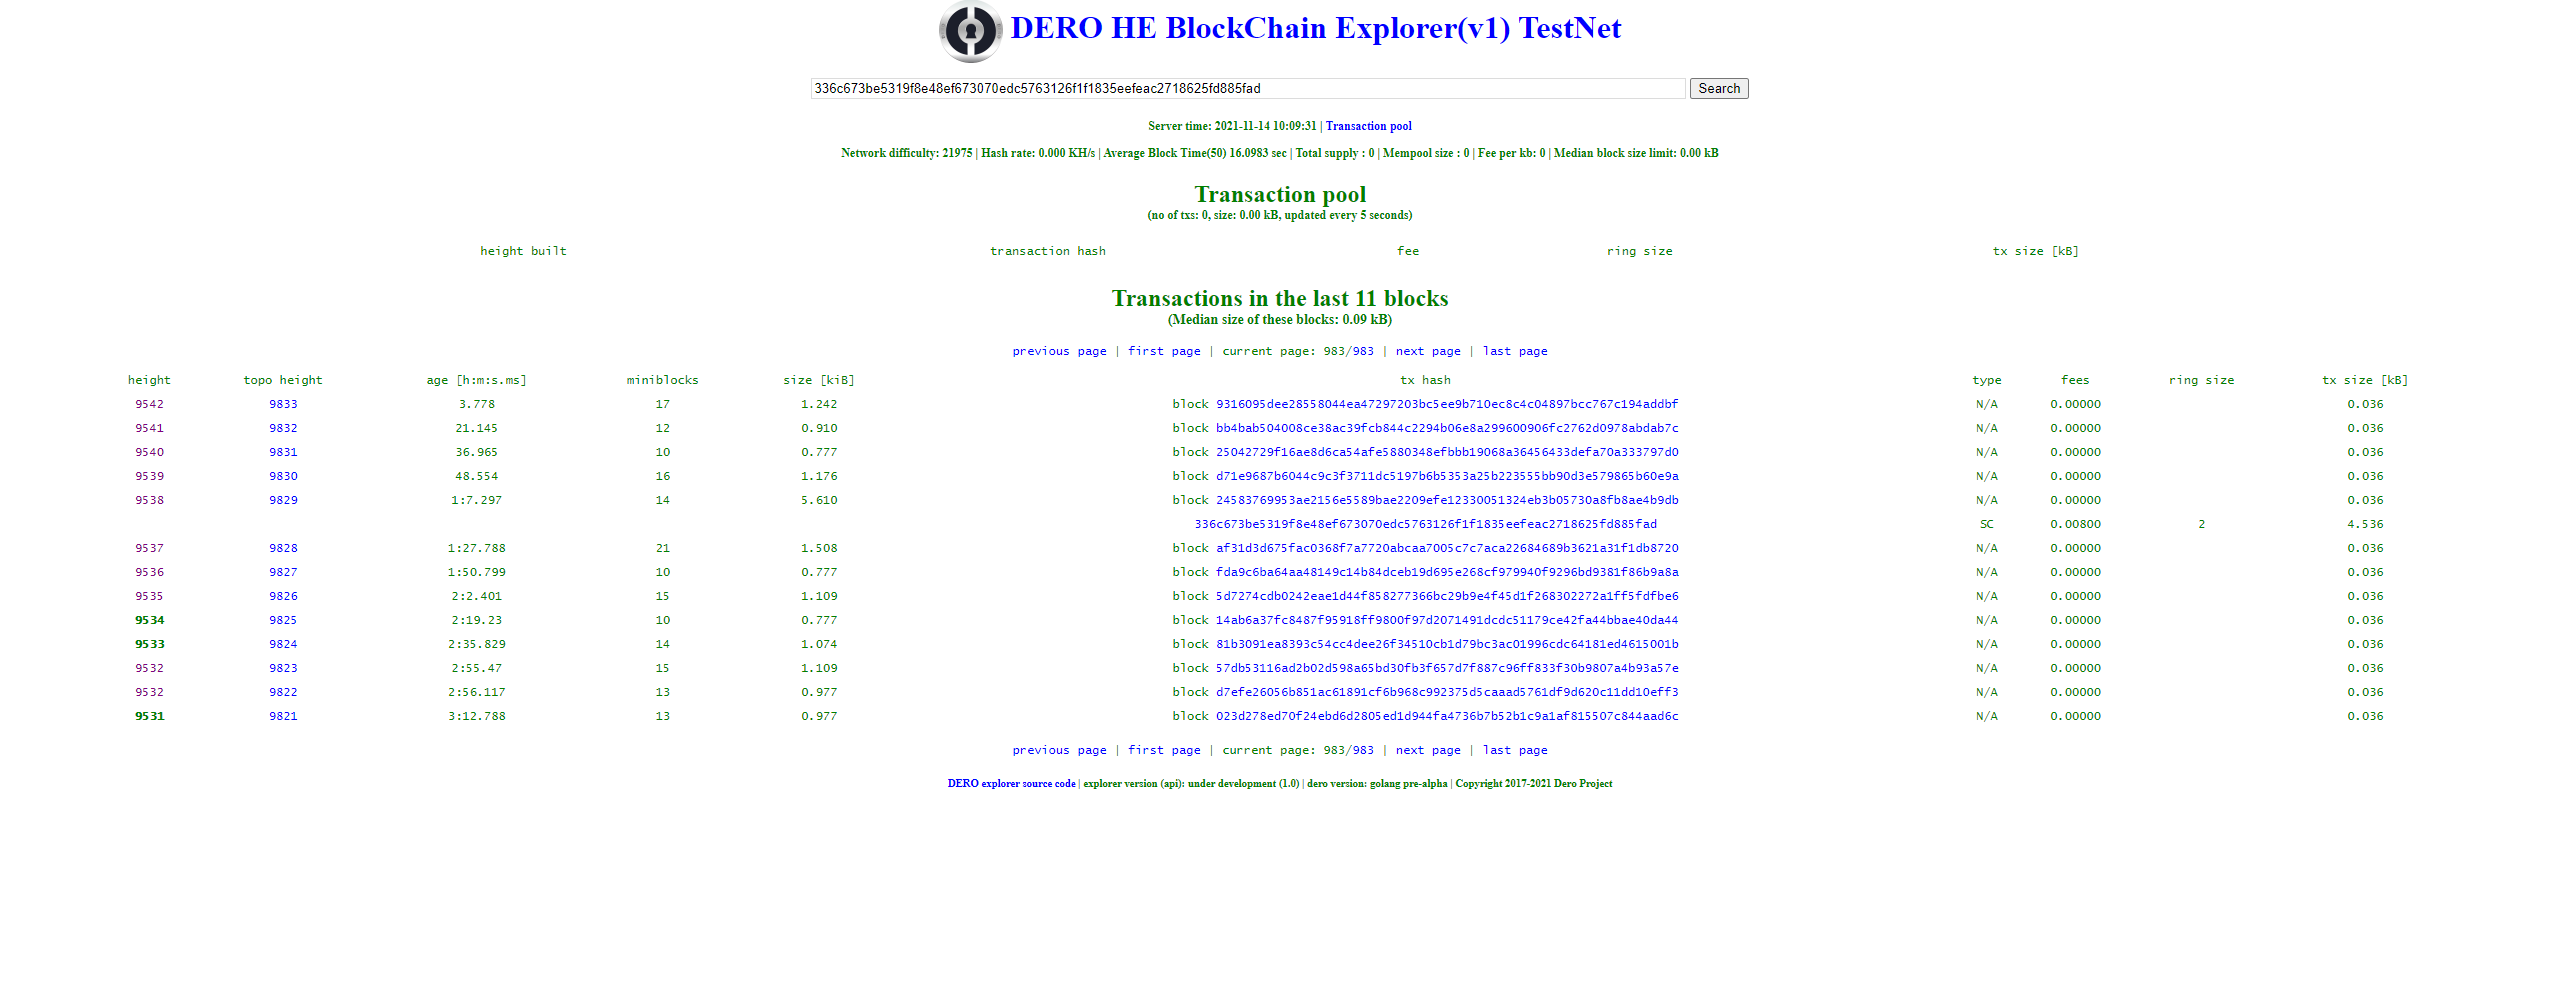
You can now see that your Smart Contract code is in the explorer and you have deployed your first Smart Contract! Congratulations!
Checking the Balance of you Token Contract
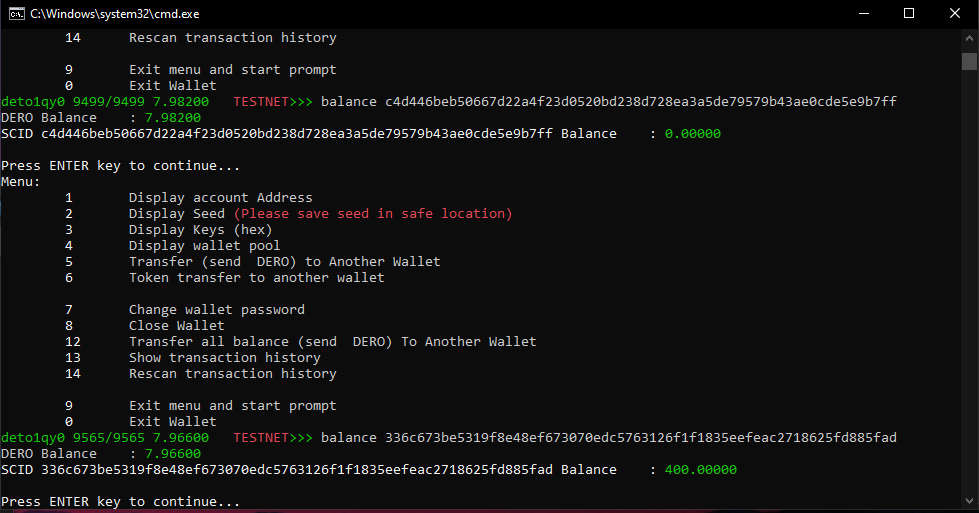
Step 1. Inside your wallet type balance followed by your Smart Contract ID like below then press enter
balance 336c673be5319f8e48ef673070edc5763126f1f1835eefeac2718625fd885fad
Step 2. You will now see that you have 400 tokens that you have just created in your wallet.
Sending your Tokens to another wallet
Sending your tokens to another wallet is as easy as sending DERO.
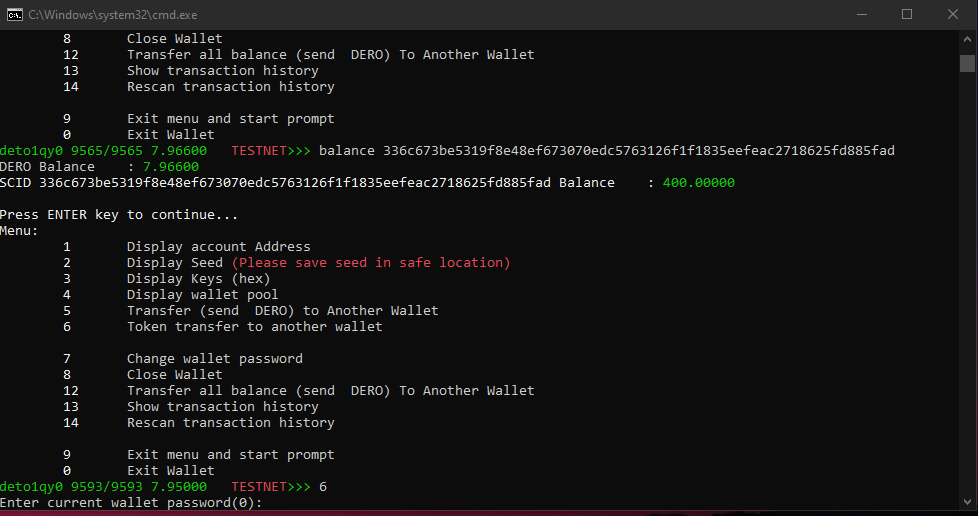
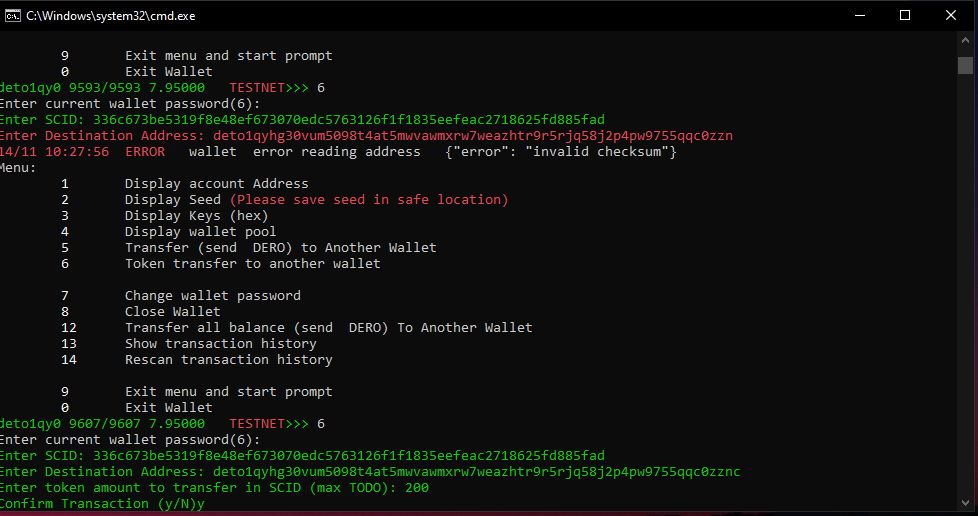
Step 1. Select option 6 by pressing 6 and enter. You will be asked to enter your wallet password.
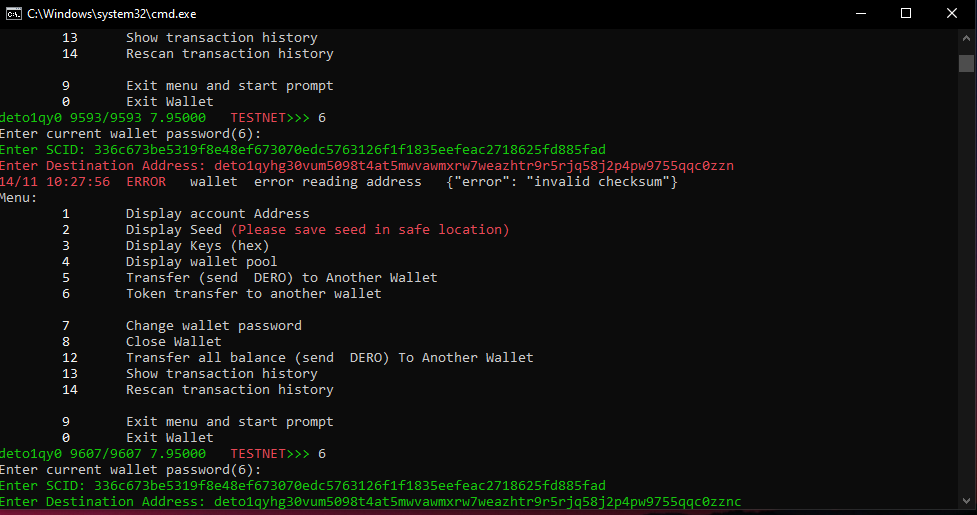
Step 2. You will now be asked to enter the SCID which is the Smart Contract ID. Paste this and press enter.

Step 3. You will now need to enter the destination address for where you wish to send the tokens. Once you have input the address press enter.
Step 4. Enter the amount of tokens you wish to send and press enter.
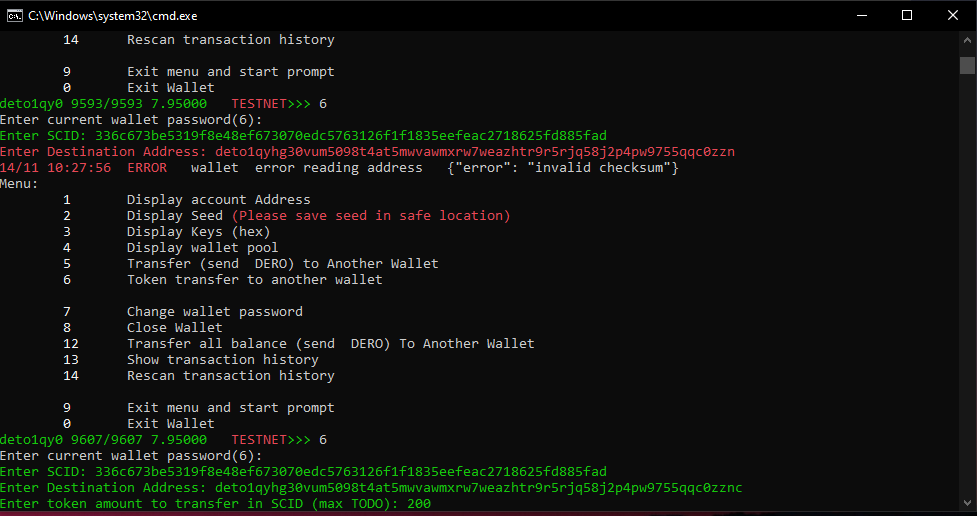
Step 5. Enter y and press enter to confirm the transaction.
Congratulations you have now sent your tokens to another DERO Wallet.